
It’s always a daunting task to restore an old car. The main reason is that you never know what unexpected surprises you might find under the skin. That is exactly the problem on a restoration we are following.
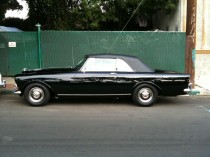
This 1965 Bentley s3 Continental looked nice and shiny enough but corrosion lay below the outer panels. Why remove the outer panels? Well the restoration facility being used for this project is known for award winning work of the highest order and they do not like to work over other people’s bodywork. So the first thing they did was strip the car of all paint and it was immediately evident that there was prior body work of poor quality.
All panels except the bonnet, trunk lid and doors showed evidence of prior bodywork.. So the owner was advised to find new panels where possible. A search via the Bentley dealer resulted in the acquisition of new old stock (NOS) front fenders and a right rear quarter panel. It should be noted that on this car the front fenders, doors, bonnet, and trunk lid are aluminum. Rear quarters are steel. Corrosion develops mostly due to inadequate drainage and from water, and from debris kicked up by the front wheels into the front body mount boxes at the rear of the front wheel wells.
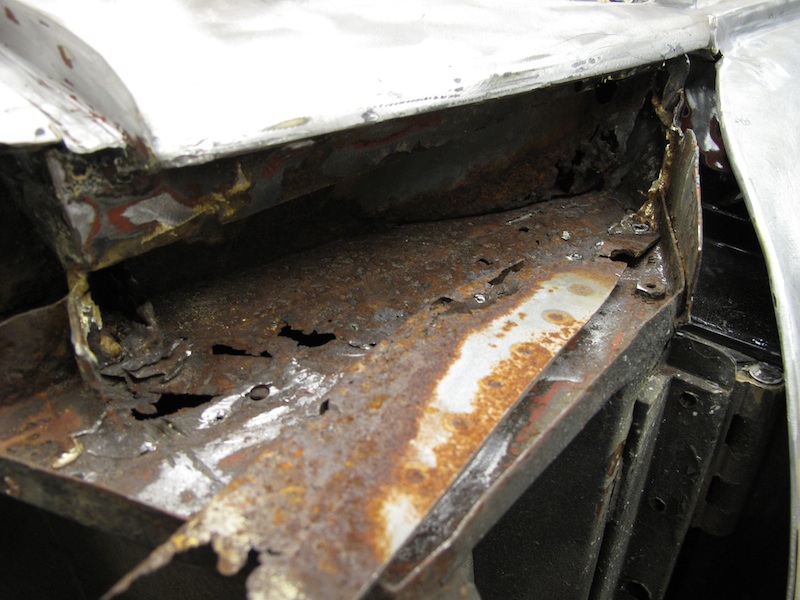
With new panels acquired, the shop started removing the panels. What they found was massive corrosion under the skin in the substructure. And so the owner tasked the shop with complete elimination of all corrosion. The substructure was all hand-crafted originally at the factory and thus the need arose for a skilled metal fabricator to perform the repairs. Fortunately the shop employs a master craftsman/artist who is capable of fabricating any shape he sees. So as work progressed, large areas of corroded metal were cut out and replaced with new metal. Proper drainage was engineered for new panels so that accumulation of moisture could be eliminated. The NOS panels were not a direct bolt on. All NOS panels required hand finishing, trimming, cutting, drilling and transfer of certain brackets and stiffeners from the old units. For instance the front wings were several inches longer than needed and so those had to be trimmed. The left front wing lacked an opening for the park lamp fixture. The right rear quarter required drilling for fitment of the tali lamp fixtures.
The project is ongoing and sometimes slow but the results should be well worth it. We encourage readers to visit us often for updates. In the meantime we are sharing some photos here and in our Gallery section.
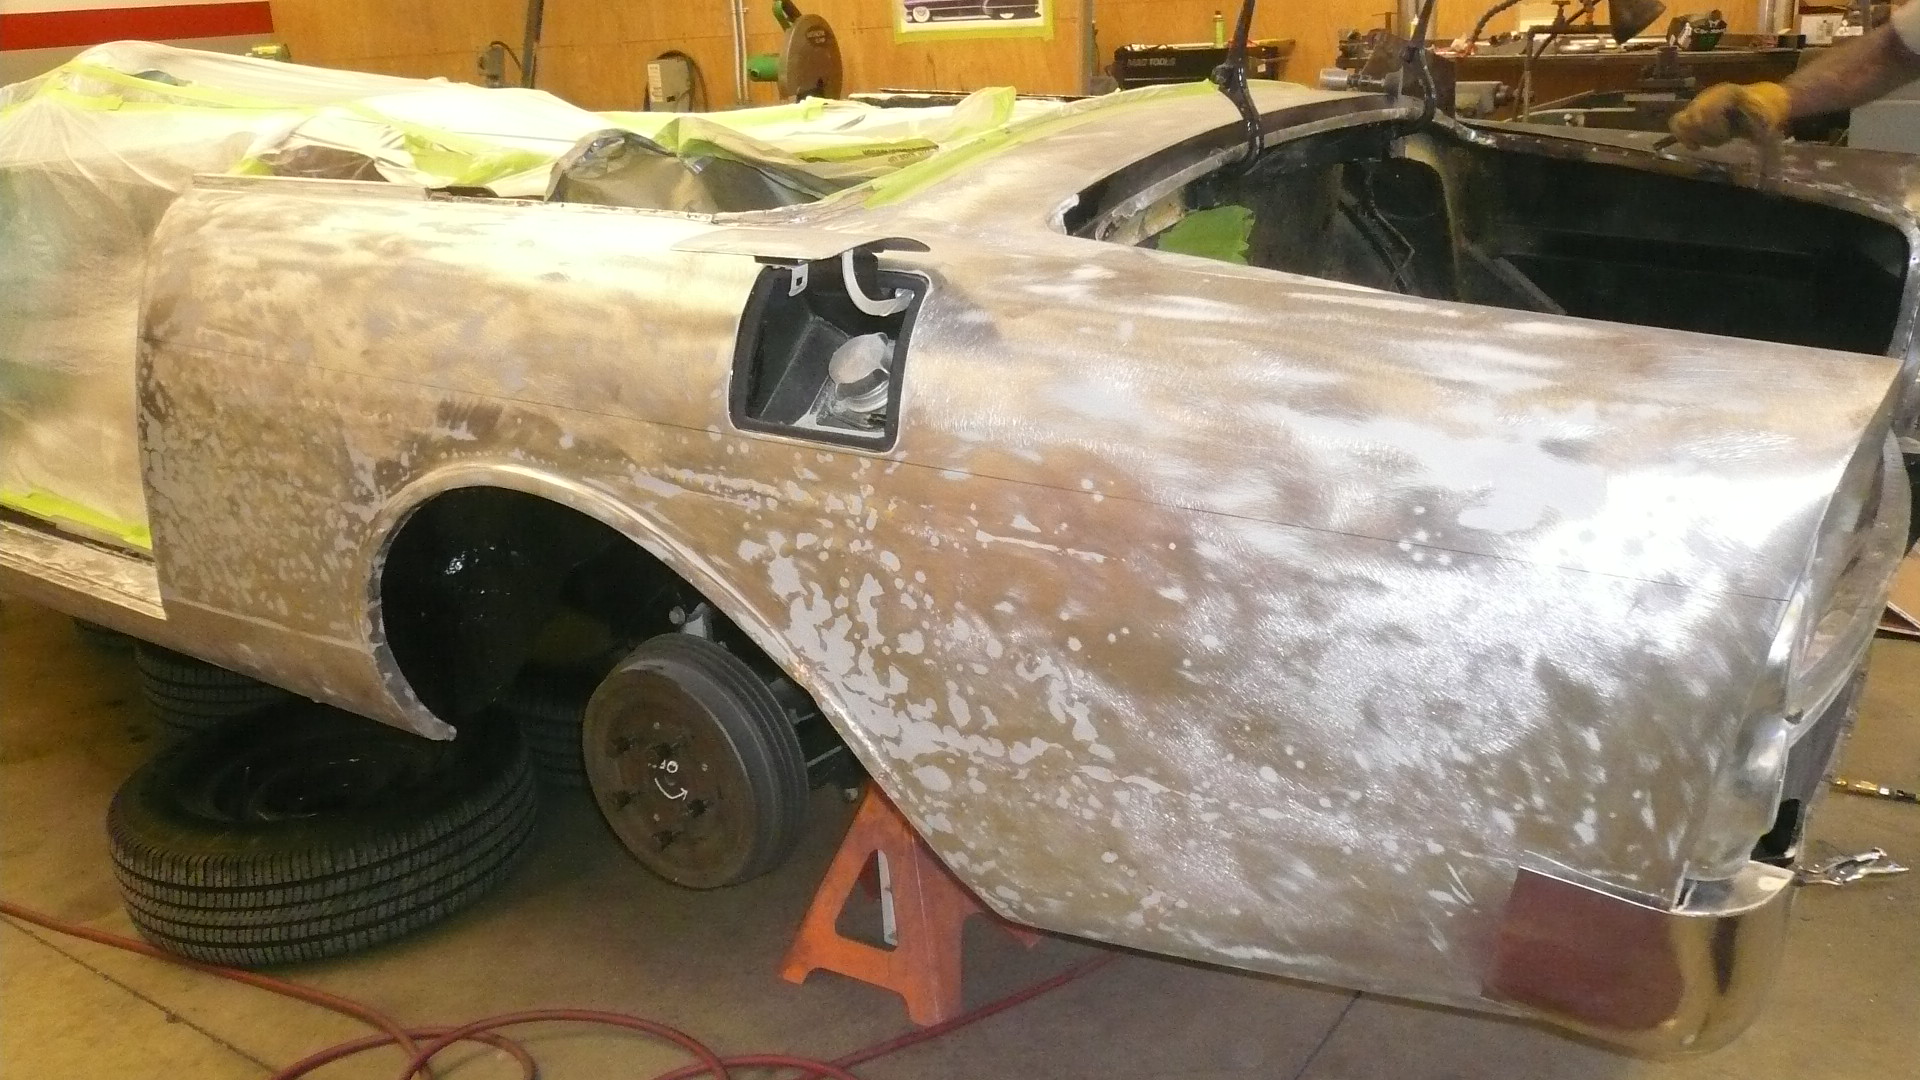
Left rear quarter panel shows prior repairs.
Left front wing
Left cowl area at windshield frame
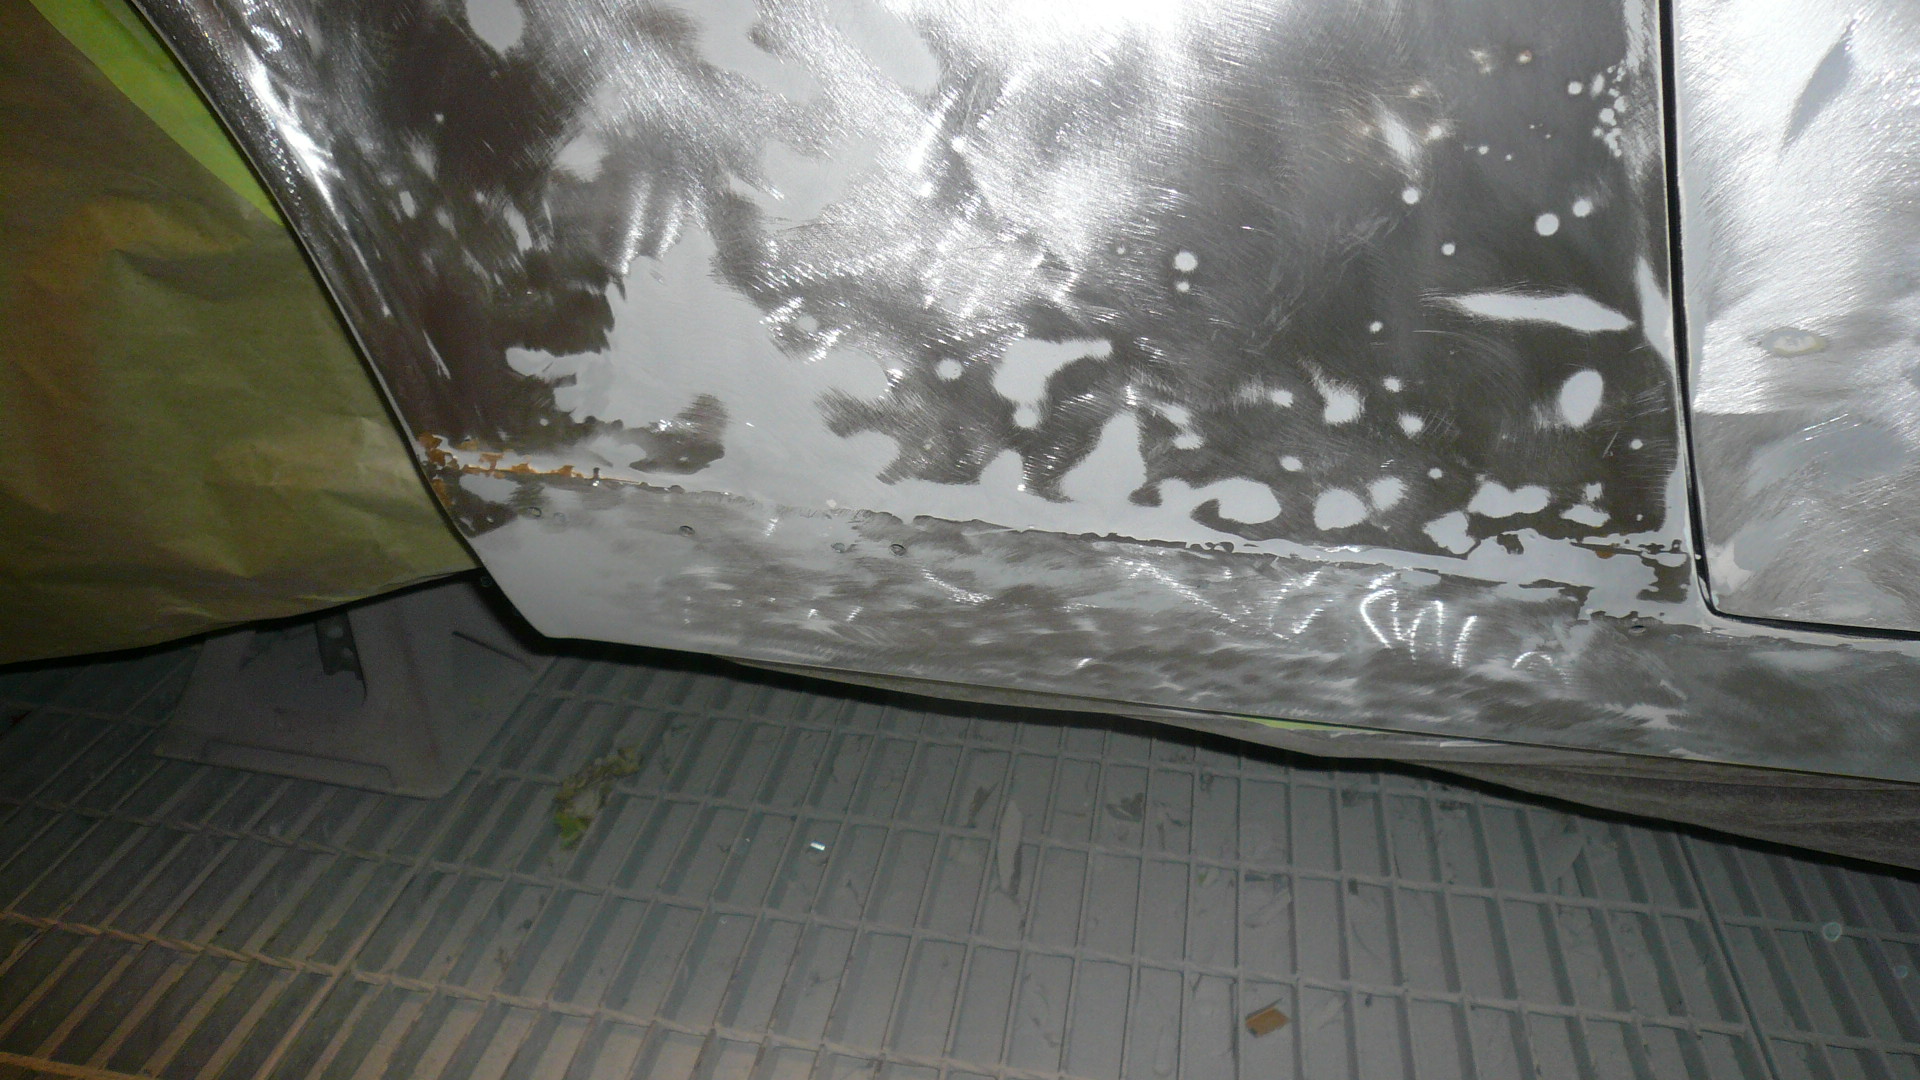
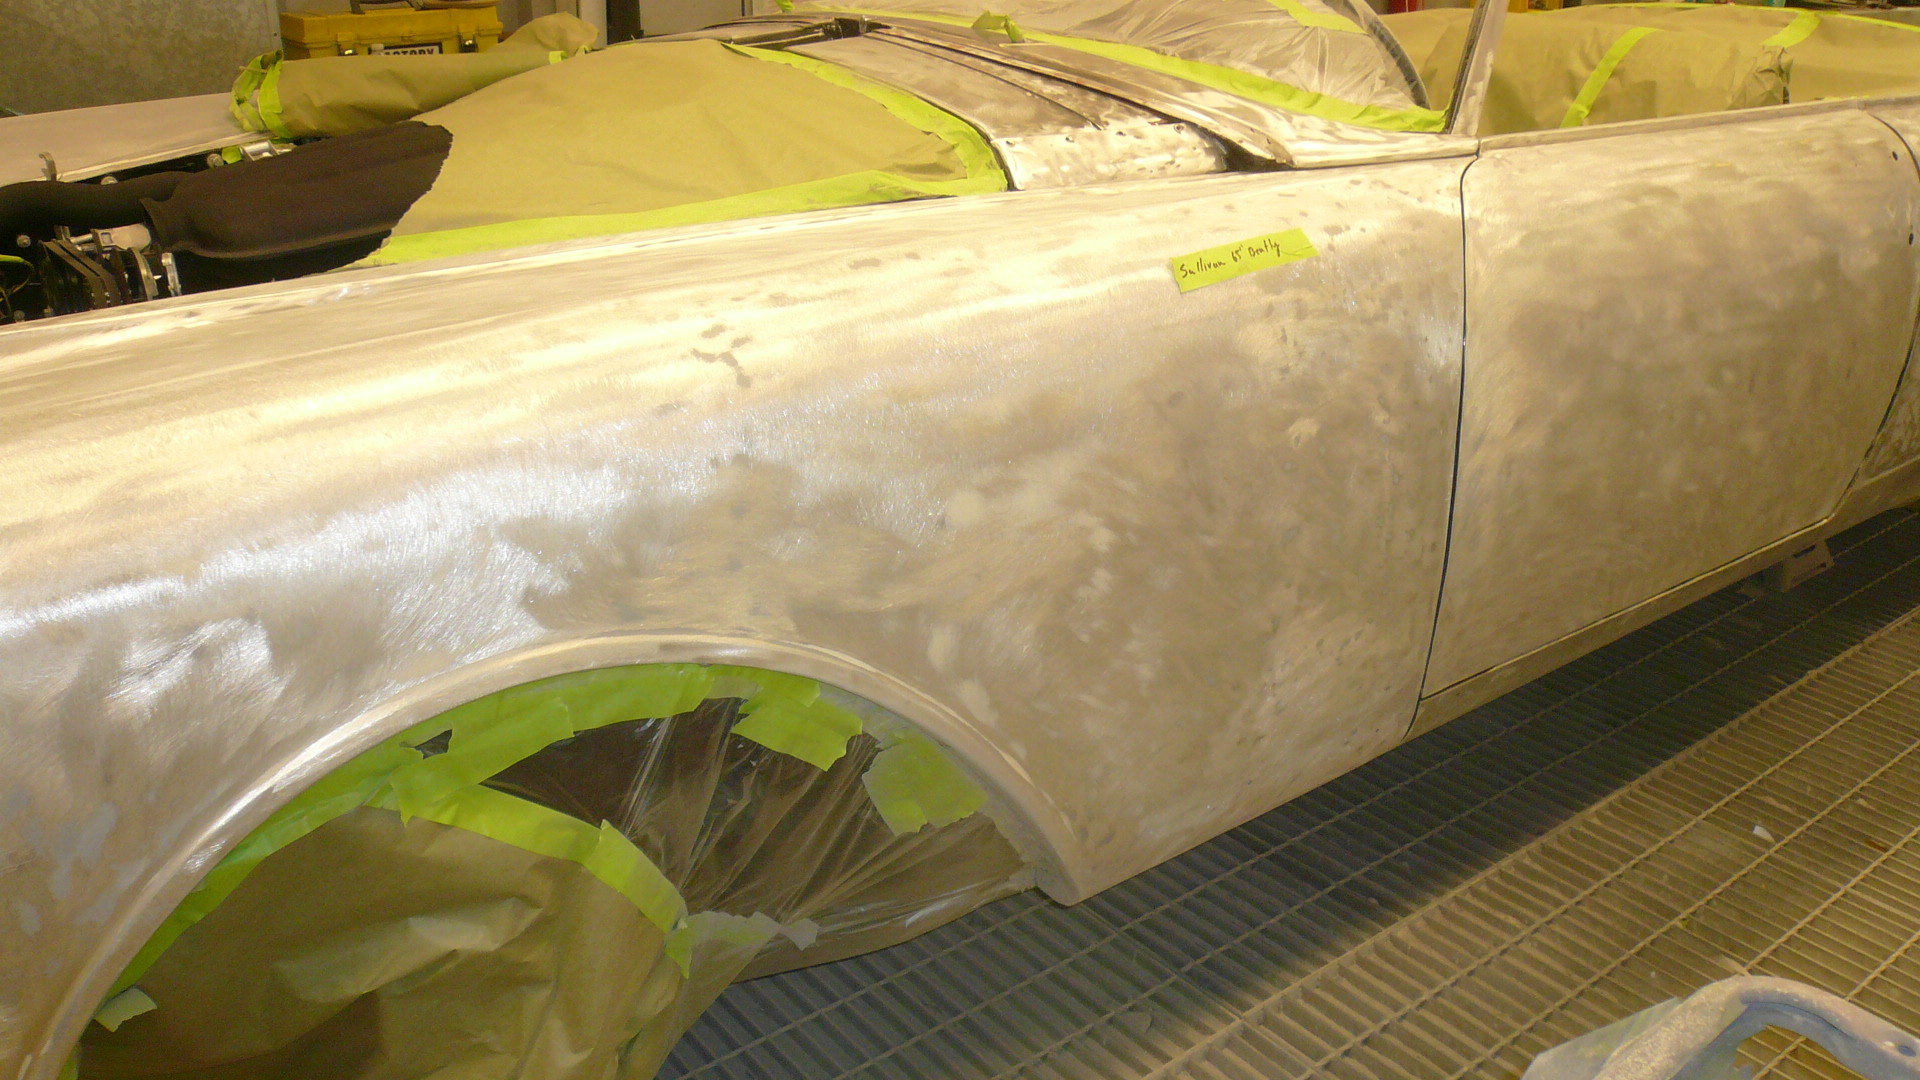
Outer rocker…poor prior repair