
(this all began in Part I of the story)
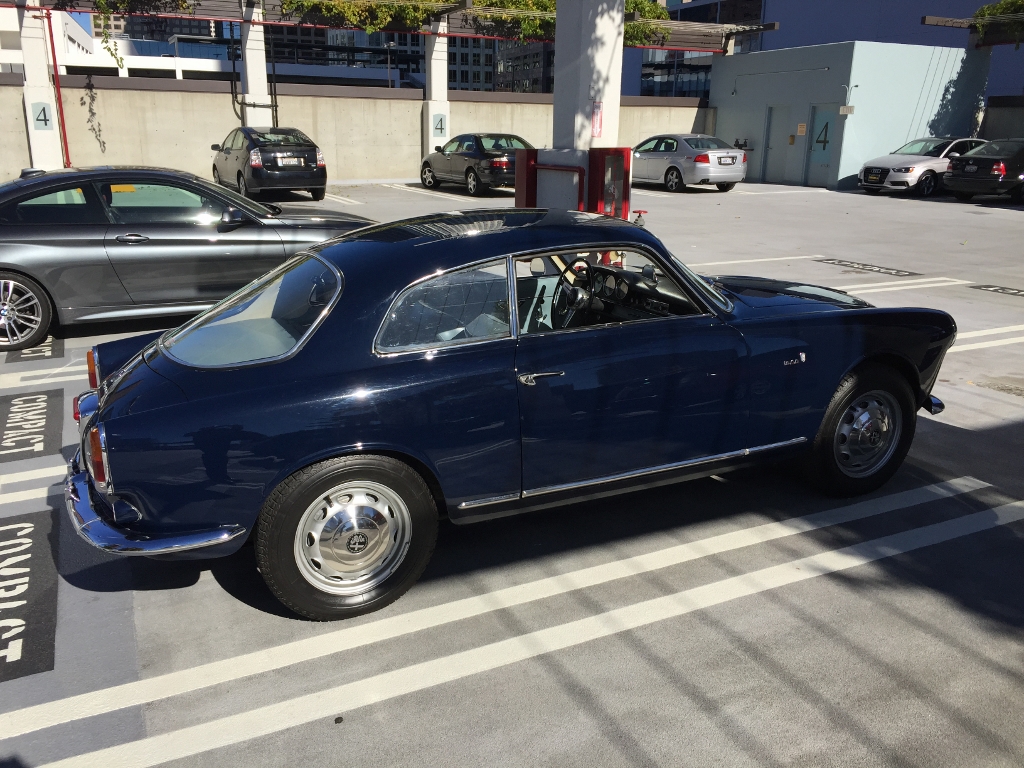
Well the car arrived home in Los Angeles safely from the East Coast and all is well. The 101 Giulia Sprint is certainly one of the nicest looking cars ever built, but perhaps I am biased. It’s true though! The car has smooth shiny paint for the most part and more important, no rust anywhere I can see. Top or bottom.
The purchase and dealer experience was without fault. Everyone at the dealership, Daniel J. Rapley, performed as promised…friendly service, deadlines met, promises fulfilled. Highly recommended dealer! Auto Turismo Sport Ltd, well-regarded specialists in servicing Italian and other cars located near to the Rapley facility in New Milford CT, performed the brake service and there are no issues. Proprietor Steve Mastroianni kept me apprised at all times and took good care of the car. Highly recommended service facility! Intercity Lines picked up the car and delivered to me in Los Angeles. No disappointments there either.
After the car arrived I drove it around for a couple of weekends and the reaction at the local Cars and Coffee was enthusiastic. Alfisti are everywhere and everyone wants a Giulia Sprint it seems! The condition of the car is generally excellent. There are no signs of rust on body or chassis but oil seepage in a couple of places (more on that later). Tiny drops on the garage floor so nothing major. Motor runs smooth and strong. The engine is surprising buzzy at 55 mph. I keep reaching for sixth gear. However it does not get worse above 55 mph. Power is excellent. Weighs under a ton so feels nimble and handles well.
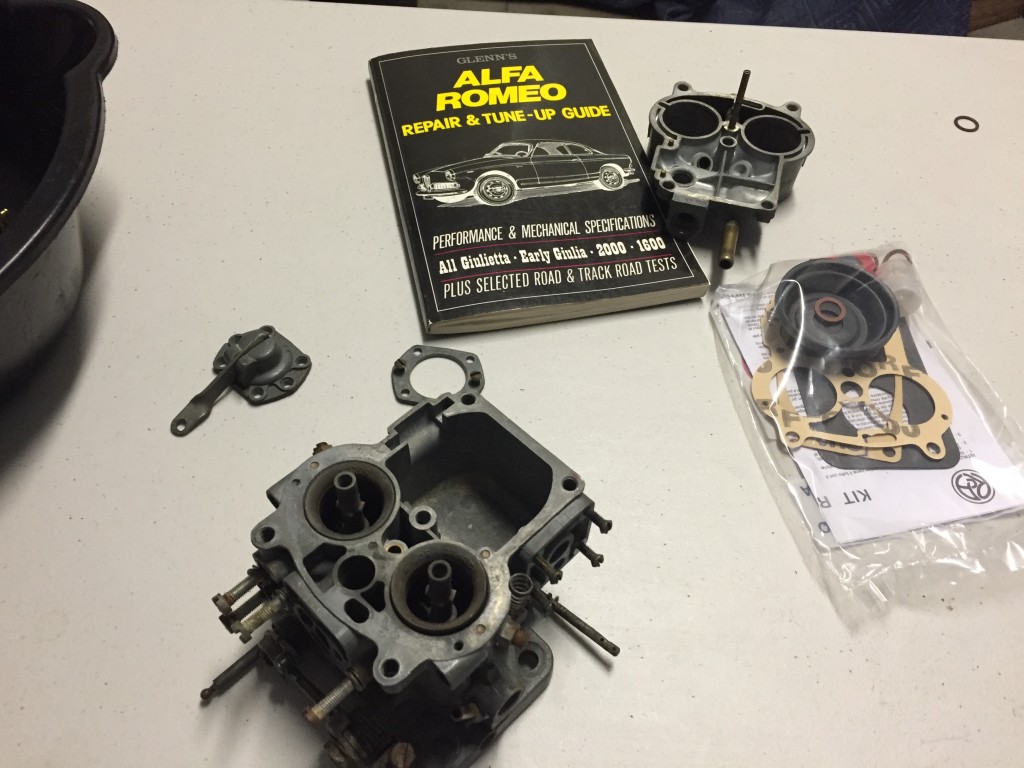
rebuilding the Solex 32 PAIA 5
There was a slight odor of gasoline while parked in the garage. My better half observed/complained. So I bought a kit from Centerline Alfa and rebuilt the Solex carburetor. Pretty easy, but in the process I broke one of the emulsion tubes while tightening it. Found a used one on EBay and was back in business shortly thereafter. The Solex 32 PAIA 5 carburetor is simple to work on and easy to tune however I find it a bit fragile..care must be employed to avoid breaking or distorting the pot metal castings. My skills from working on Twin SU’s came in handy. The more you understand how it works the easier everything becomes.
There were no tools other than the jack. I sourced an almost complete set on EBay. They are more difficult to find that I imagined. Patience.
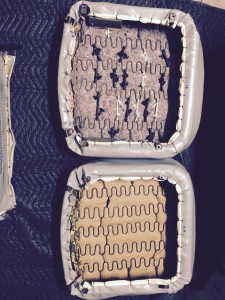
Top image = driver’s side seat cushion. Note missing spring and Bungee cords. Bottom image = passenger side seat cushion. Good as is.
The seat covers are in great condition with minor and hardly visible blemishes. The driver seat cushion sags a bit and the frame fasteners seems slightly loose. I removed the seats from the car to investigate. The passenger side is in great shape with intact springs and proper burlap(?) covering. The driver’s side is another story. Both seats shown in the photo; driver’s side is on top. Prior work was not proper. Bungee cords were used to tie the spring together. And one of the zigzag springs was completely missing. This arrangement felt quite uncomfortable to me while driving. Perhaps a prior owner need more headroom and modified the seats to suit; I’m guessing here. I had the seat redone. Re-used the excellent seat covers and installed the correct number of springs. Zigzag springs are available online, but the upholstery shop had it in stock. Net result is much firmer feel and normal support for the driver’s derriere. Cad plated the seat hardware while the cushion was at the upholstery shop (Jack’s Auto Interiors). See before and after photos.
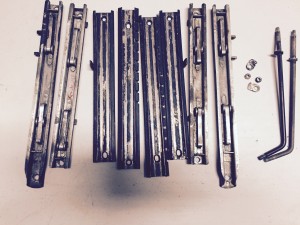
Seat hardware – Before
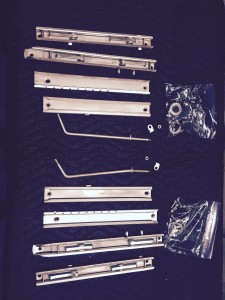
seat hardware – cadmium plated

Most gauges work, well at least the essential ones do: speedo, tach, oil pressure and water temperature but not the fuel level! This is serious. Just need to keep her full. Will tackle a repair soon.

original components all present – except hose clips and clamps
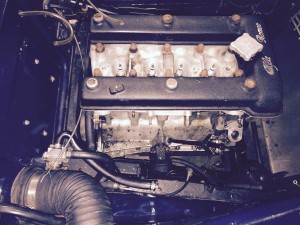
pretty oily – not pretty
The engine compartment is largely intact but quite oily and in need of “tidying up”. As far as I am concerned that can only mean one thing. (Uh oh!) Stay tuned for Part III.